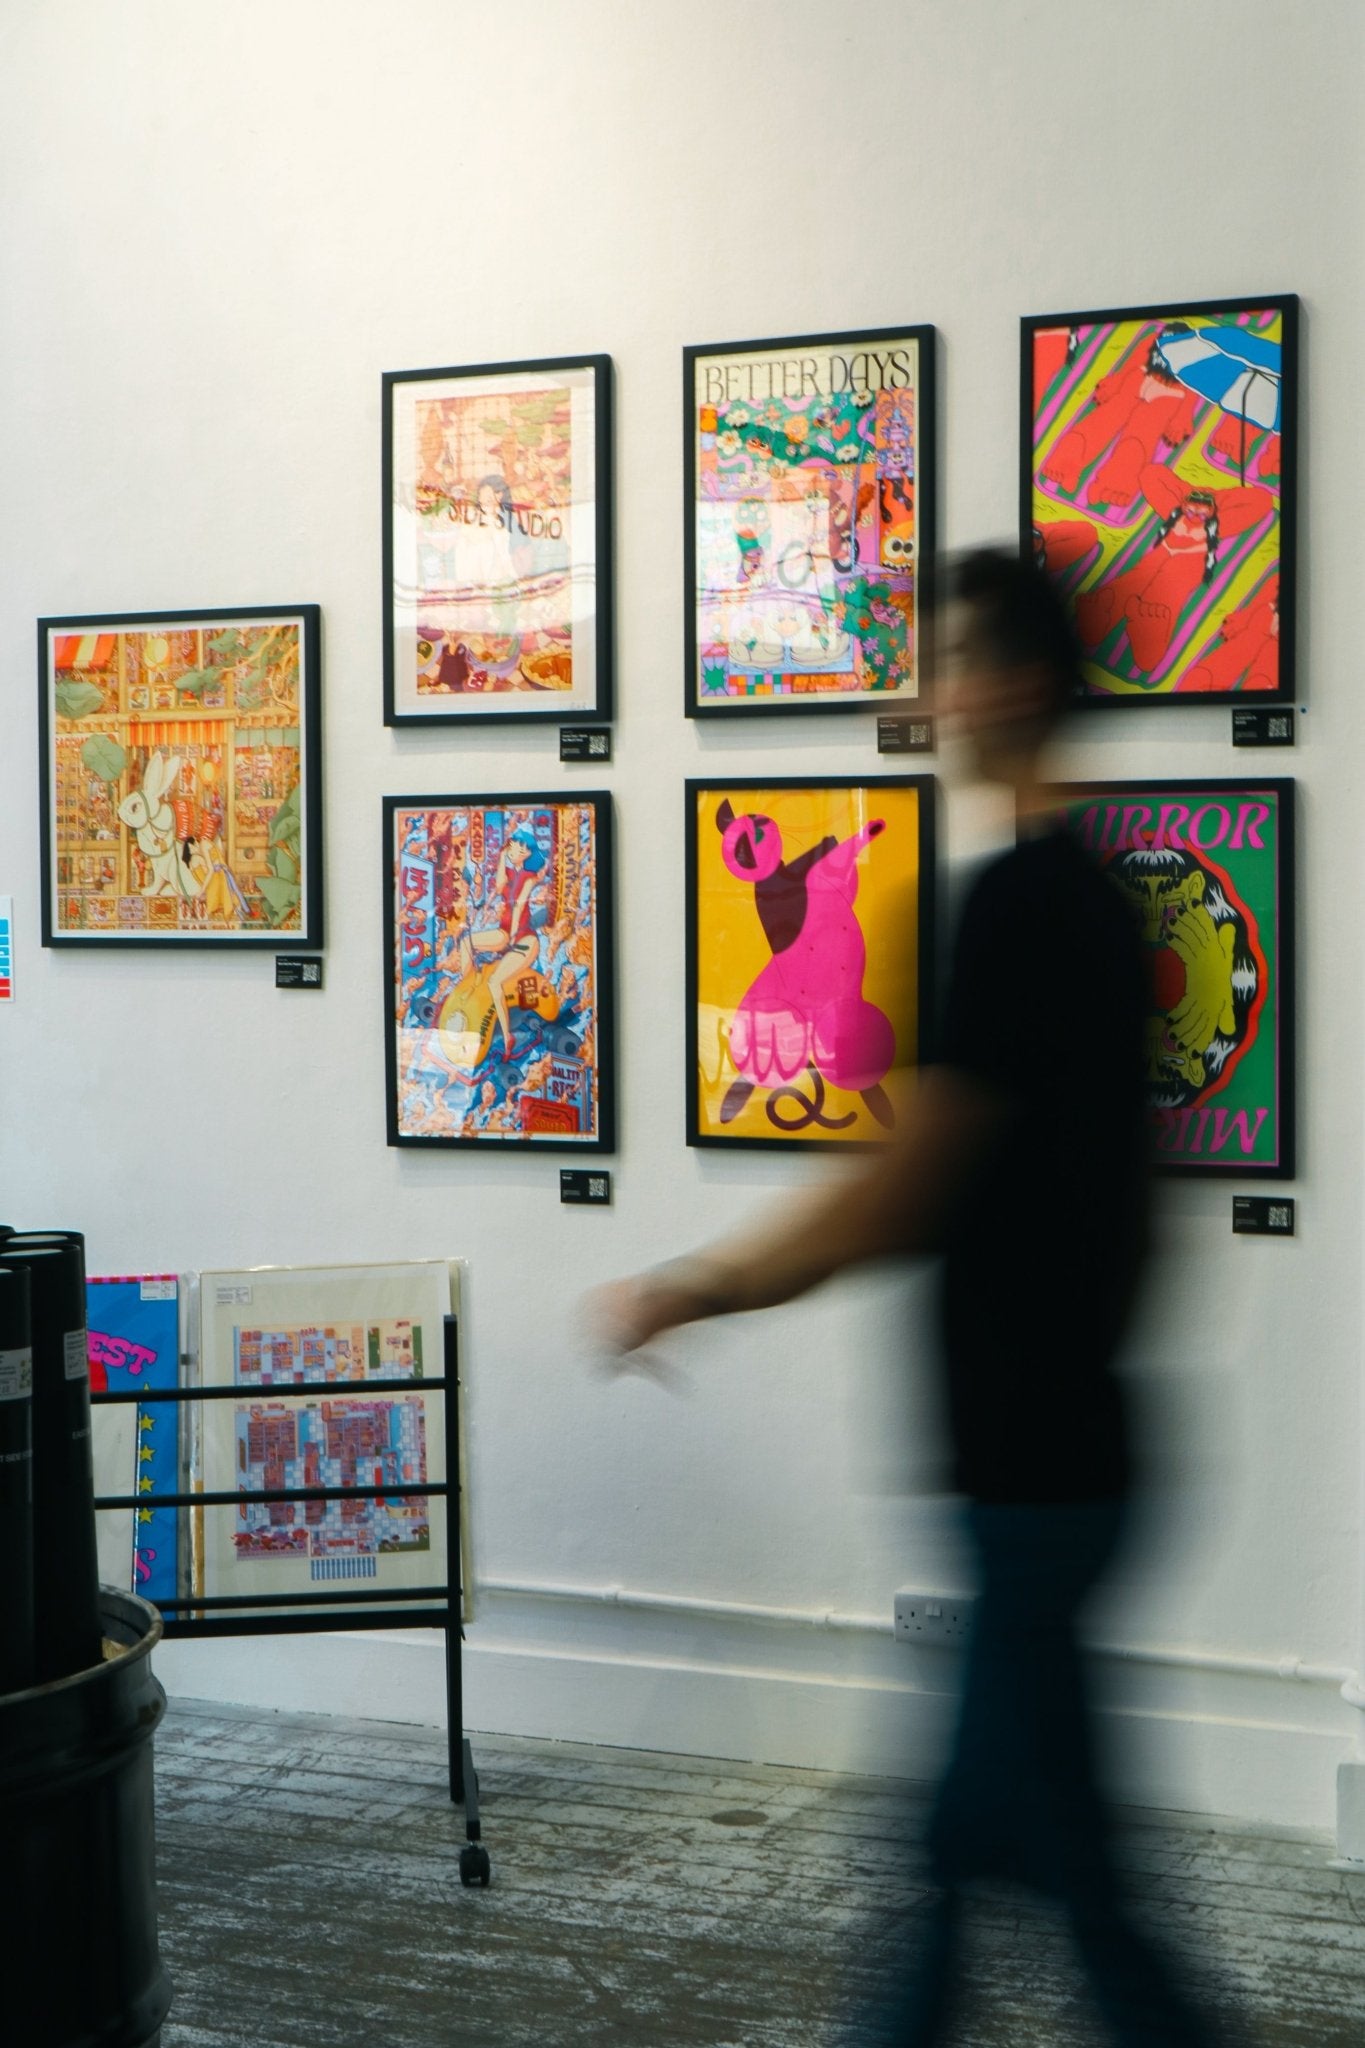
If you’re anything like us, your walls are probably in dire need of a little love. And what better way to show your walls some love than by creating a stunning gallery wall. Whether you’re a total novice when it comes to creating a gallery wall or you’re a pro who’s looking for some fresh ideas, we’ve got you covered. We’ve put together an easy 4 step guide complete with everything you need to know, from choosing the right prints to hanging your gallery wall like a pro. So, let’s get started!
Step 1: Decide on a Theme or Concept
The first step to creating any gallery wall is to decide on a theme or concept. What are you trying to achieve with your wall? Are you going for a certain look or feel? Do you want to tell a story with your prints? Do you want a cohesive look or a more eclectic feel? Answering these questions will help you narrow down your options and make the process of choosing prints much easier.
Step 2 : Choose Your Prints
Step 3 : Plan Your Layout
Step 4 : Hang Your Frames
Once you've settled on a layout, it's time to start hanging your frames. We recommend starting in the middle and working your way out. This will help ensure that your gallery wall is evenly balanced. If you’re hanging your frames on a wall with drywall, a simple nail in the wall should support your frames. If you’re hanging your frames on a wall with brick or stone, you’ll want to use masonry anchors. Once you’ve hung all of your frames, step back and take a look at your work. Make sure that the frames are level and that the overall layout is pleasing to the eye. We guarantee that your new gallery wall will be the envy of all your friends and family.
And that’s it! You’ve successfully created the perfect gallery wall.
If you have any questions about making the perfect gallery wall, feel free to reach out to us at East Side Studio – we’re always happy to help!


Leave a comment
All comments are moderated before being published.
This site is protected by hCaptcha and the hCaptcha Privacy Policy and Terms of Service apply.