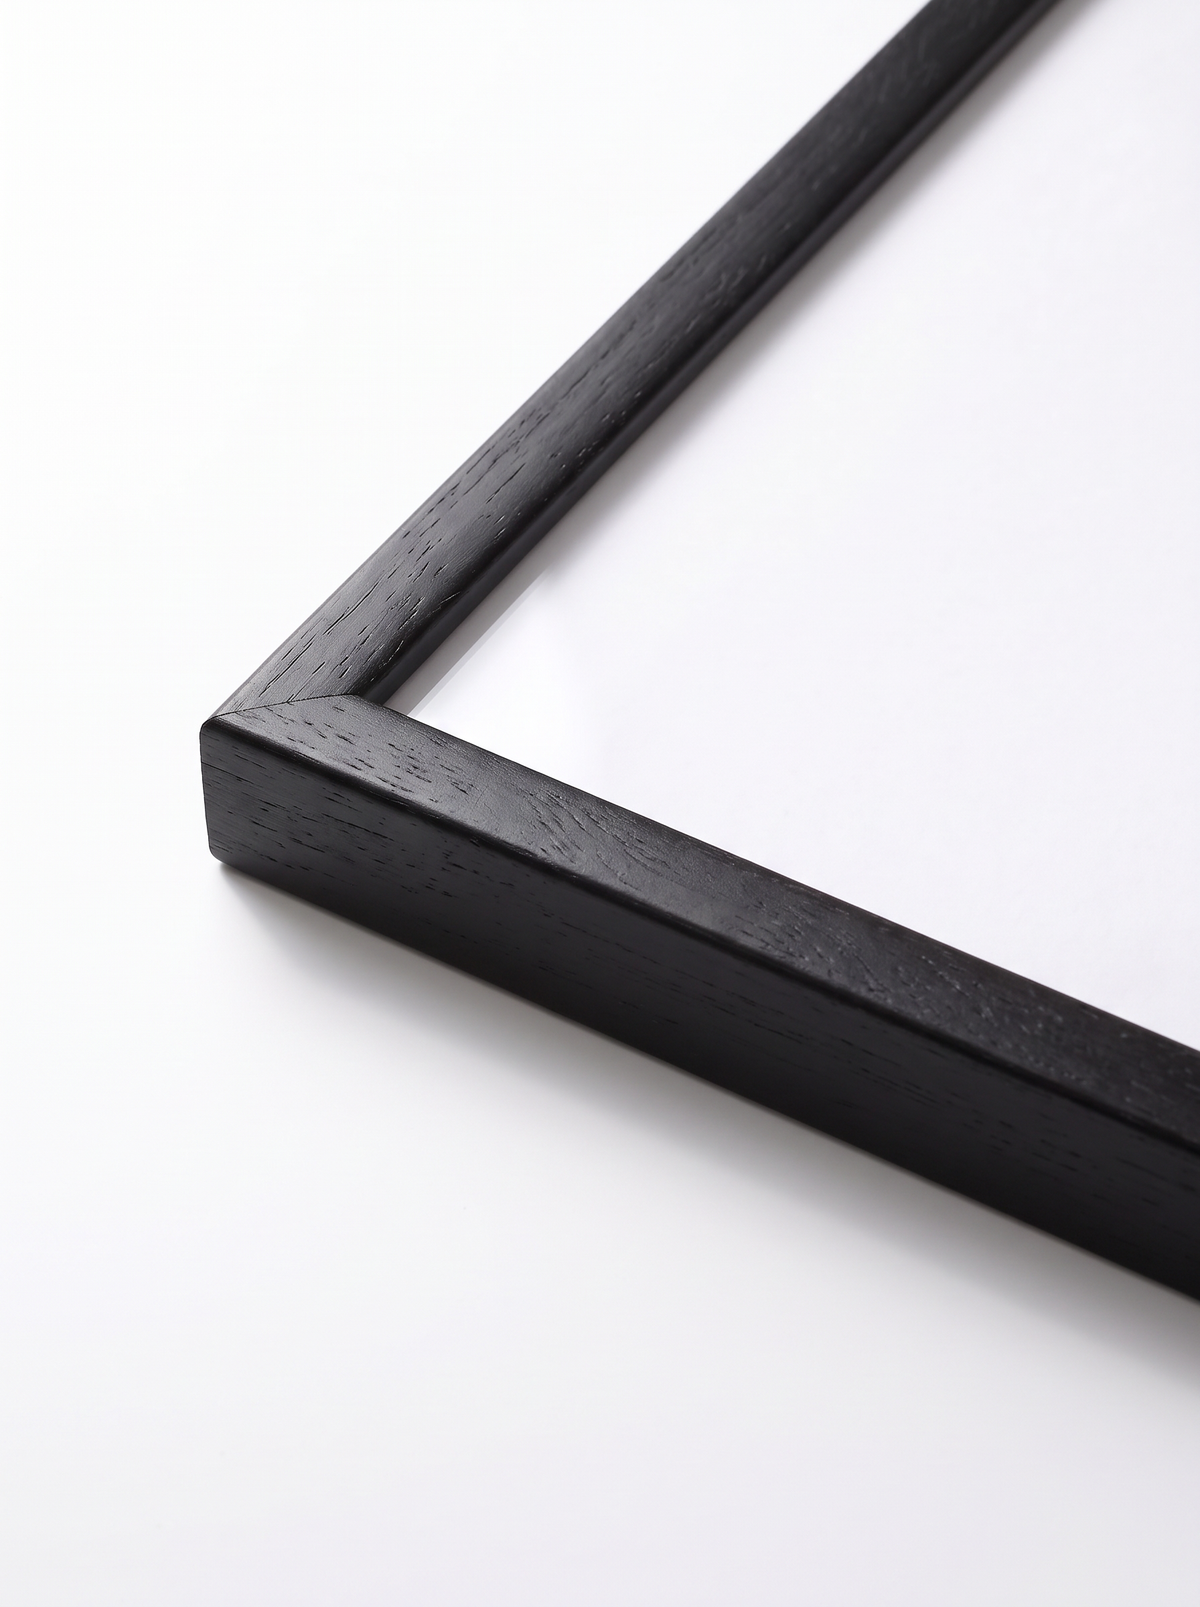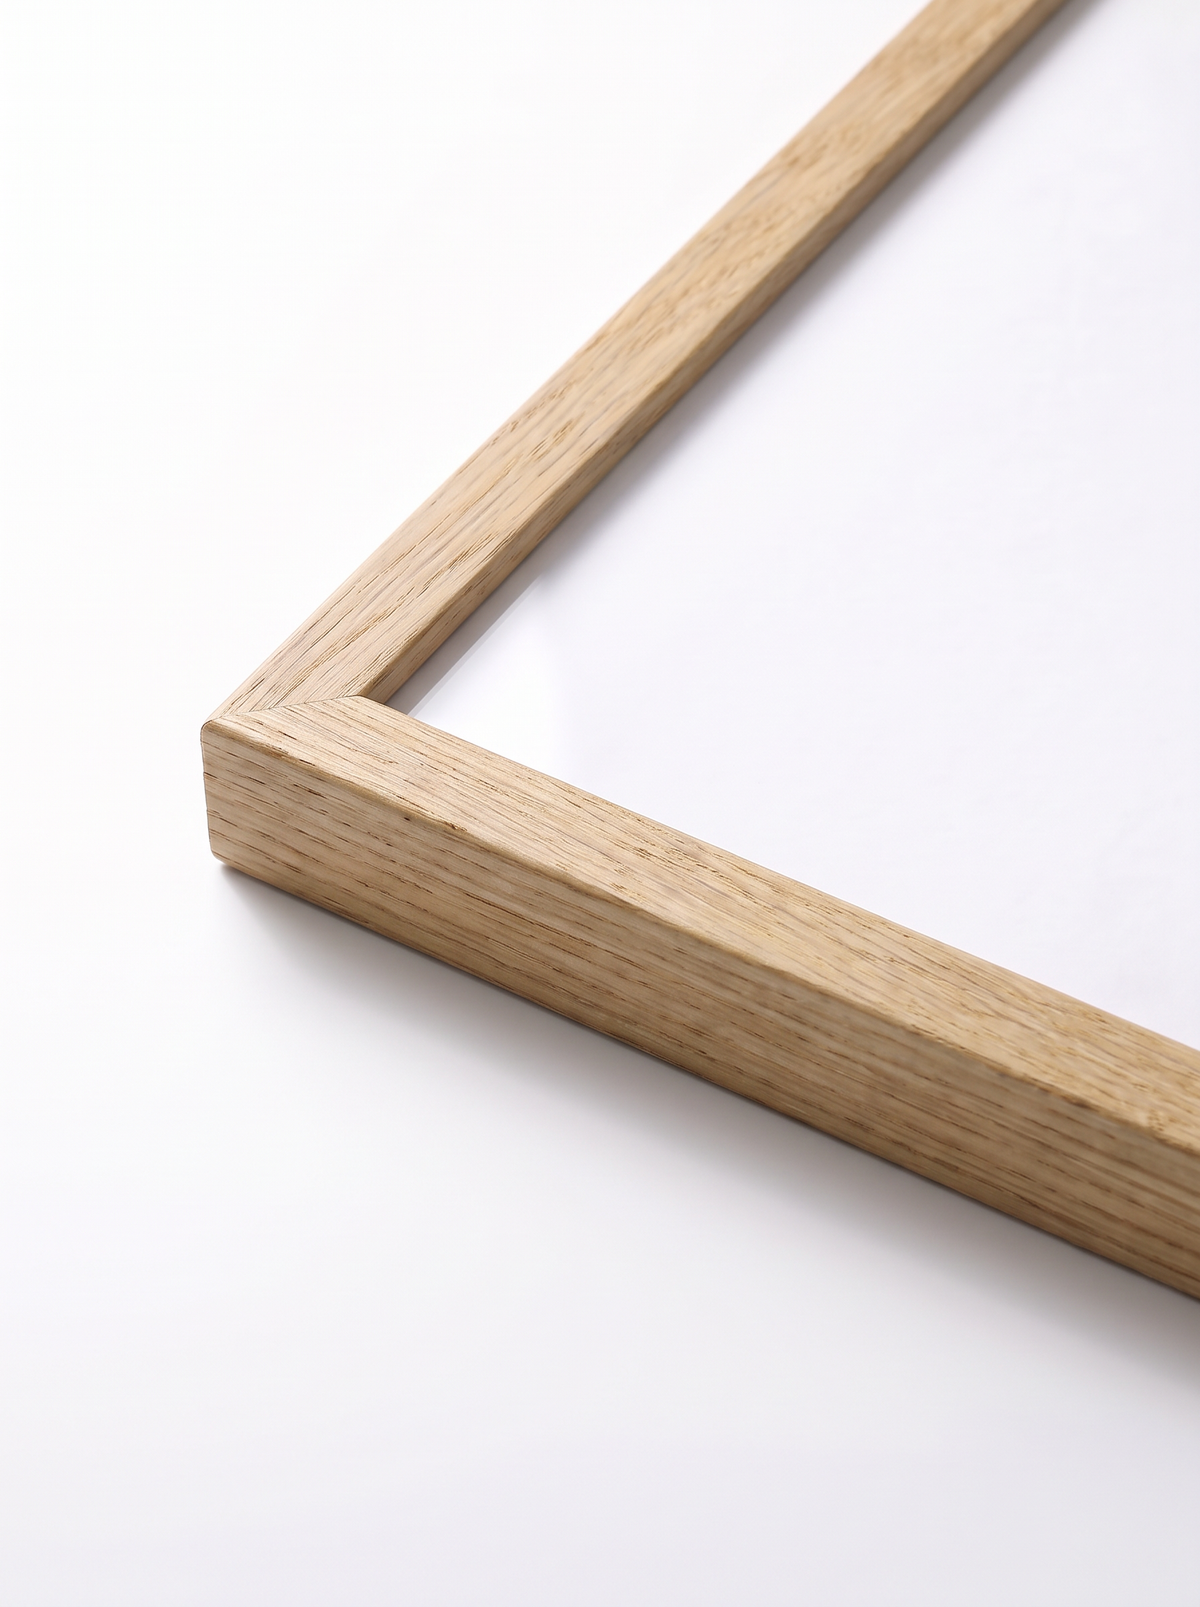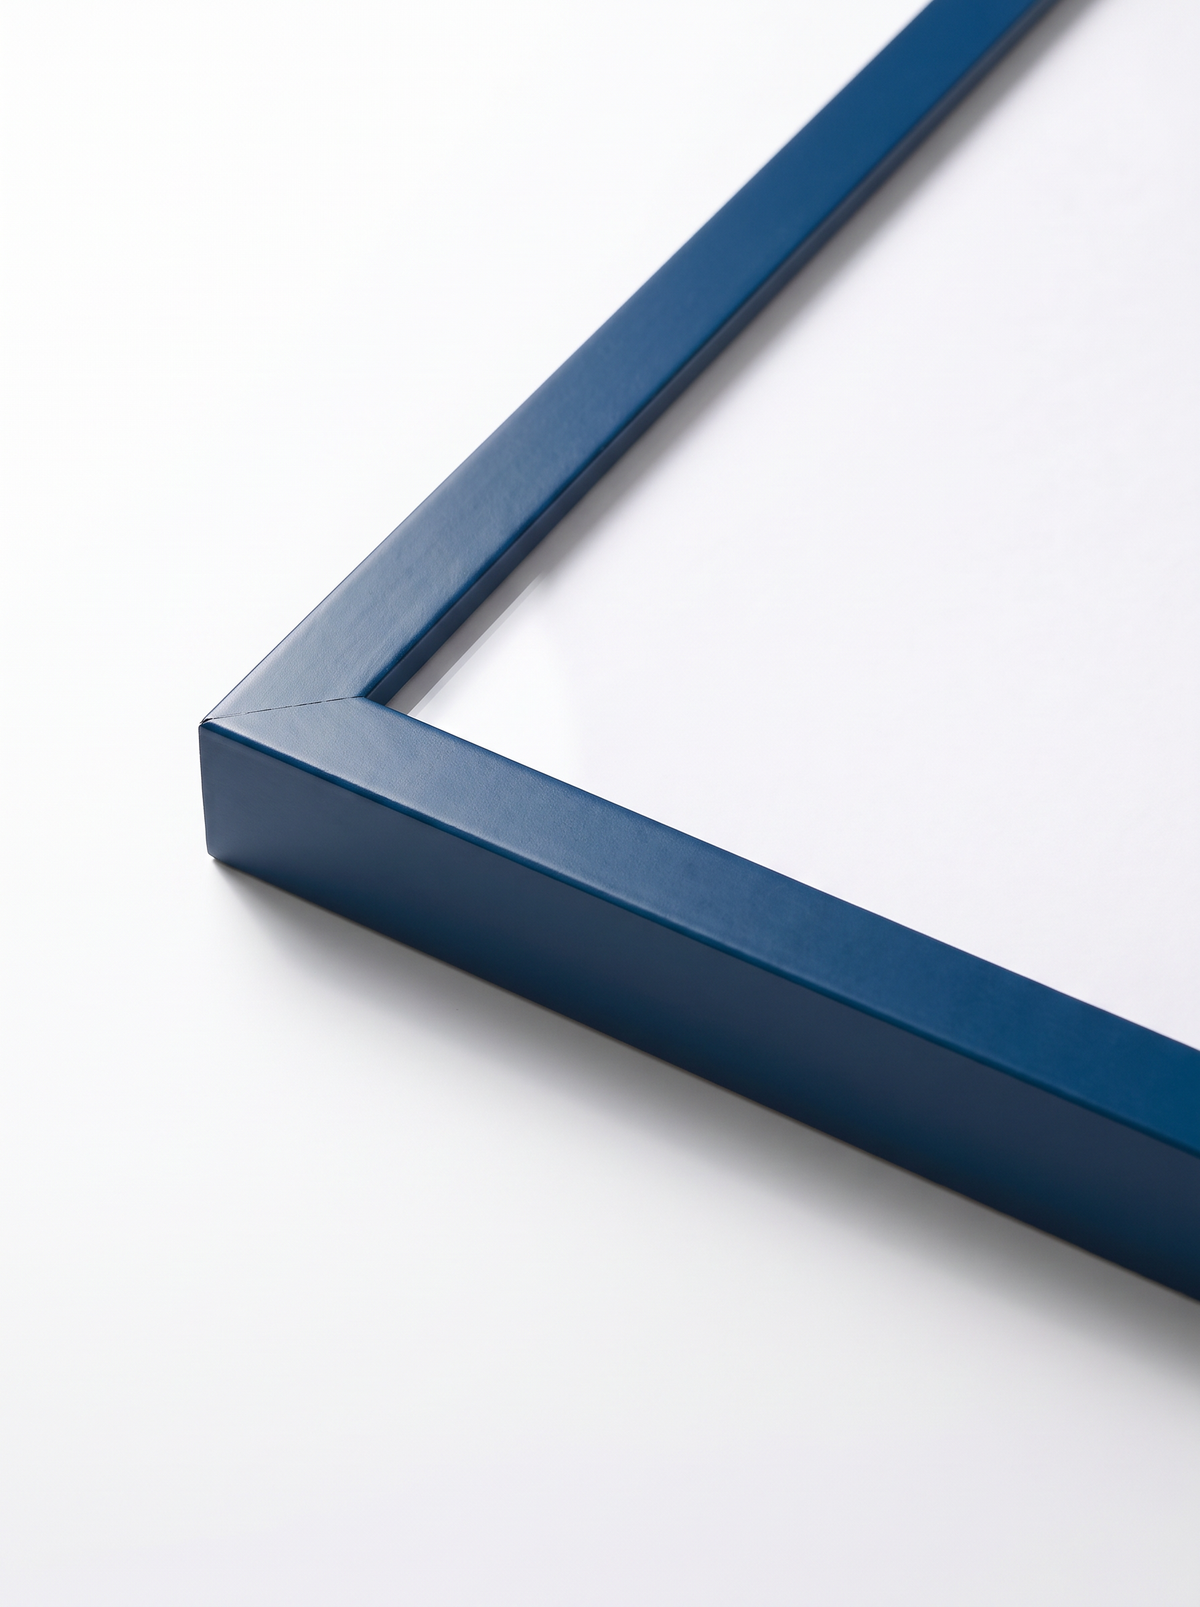
The short version: decide where the top of the frame should go, measure how far the hanger sits below the top edge on the back of the frame, and put your hook that far below your mark. Check for pipes and cables first, use a fixing that suits your wall, and aim for the middle of the picture to sit about 145 to 150 cm off the floor (57 to 60 inches).
That's really all there is to it. The rest of this guide covers the bits that trip people up: awkward walls, frames with two hangers, renting, and getting a group of frames to line up.
In this guide
What you'll need
- Tape measure and pencil
- A spirit level (the one on your phone is fine)
- A pipe and cable detector, if you're drilling or using long nails
- Hooks or fixings to suit your wall, more on that below
- A hammer, or a drill if you're going into brick
- Low-tack masking tape
How high, and how big
Height. The middle of the picture should sit at roughly eye level, about 145 to 150 cm from the floor. Galleries use the same rule, and it works in most rooms because it ignores ceiling height, which is usually what throws people. Over a sofa, bed or sideboard, leave about 20 to 30 cm between the furniture and the bottom of the frame instead. There's more on this in our guide to how high to hang a picture.
Size. You'll often hear about the "two-thirds rule": a picture above furniture looks best when it's about two-thirds the width of the furniture beneath it. Over a 180 cm sofa, that's a frame, or a group of frames, about 120 cm wide. Anything much narrower than half the width tends to look lost. Our wall art size guide has a room-by-room chart, and our picture frame size guide shows how big each frame size is on the wall.
Hanging a frame, step by step
- Check the wall. Before you drill or hammer, run a pipe and cable detector over the spot. Cables usually run straight up and down, or straight across, from sockets and switches, so avoid those lines.
- Mark the top. Hold the frame in place, or measure, and lightly pencil where you want the middle of the top edge to sit.
- Measure the back of the frame. Measure from the top edge down to the hanger. If it hangs on a cord, pull the cord up tight towards the top and measure to that point instead.
- Mark the hook position. Measure the same distance down from your first mark.
- Put the fixing in. Use whatever suits your wall and the weight of the frame (see the table below).
- Hang it and level it. If the frame is wide, two hooks keep it straight much better than one. A small felt or rubber bumper on each bottom corner stops it tilting and protects the wall.
The masking tape trick for two hangers
Frames with two hangers, or two D-rings, are the ones people get wrong most, because the two holes have to be exactly level and exactly the right distance apart. This is the easy way:
- Stick a strip of masking tape across the back of the frame so it covers both hangers.
- Mark the centre of each hanger on the tape with a pen.
- Peel the tape off and stick it on the wall where you want the frame, using a level to get it straight.
- Put a hook or nail through each mark, then peel the tape away.
The same trick works for one hanger, and it saves you measuring at all.
Sawtooth hangers or D-rings?
Turn your frame over and you'll usually find one of two things.

Sawtooth hangers are the little toothed metal strips you get on smaller frames. They sit on a single nail or hook, and you can nudge the frame left or right along the teeth until it's level. That's what comes on our smaller frames.
D-rings and cord are for bigger, heavier frames. The cord goes over one or two hooks, and the rings spread the load. Our larger frames, A1 and up, come with these. For a big frame, use two hooks about a third of the way in from each side rather than one in the middle; it holds the frame level and halves the load on each fixing.
Either way, our frames arrive ready to hang, and work in portrait or landscape.
What to use on your wall
Not sure what your wall is? Tap it. A hollow sound means plasterboard; a dull, solid sound means plaster on brick or block. Older houses often have lath and plaster, which sounds solid in places and hollow in others.
| Wall type | What to use |
|---|---|
| Plasterboard | For light frames, traditional picture hooks are fine. For anything heavier, screw into a timber stud if there's one in the right place, or use plasterboard fixings or self-drilling anchors rated for the weight. |
| Plaster on brick or block | Picture hooks with thin hardened pins for light and medium frames. For heavy frames, drill with a masonry bit and use a wall plug and screw. |
| Lath and plaster | Avoid hammering hard, which can crack the plaster. Drill a small pilot hole and screw into a timber lath or stud behind. |
| Bare brick or concrete | Masonry bit, wall plug and screw. Wrap tape round the drill bit at the plug's length so you don't drill too deep. |
| Picture rail | Picture rail hooks and cord or wire. No holes at all. |
Screws or nails? Nails, in the form of proper picture hooks, are quicker and leave smaller holes, and they're fine for most framed prints. Screws with wall plugs or anchors are better for heavy frames, mirrors, and anything over a bed or a doorway where a fall would matter.
How to hang pictures without nails
If you're renting, or just don't want holes in the wall, there are five good options. Which one suits you depends mostly on the weight of the frame.
| Method | Best for | Things to know |
|---|---|---|
| Adhesive picture-hanging strips | Small and medium frames | The most popular option. Each pack states a weight limit; stay comfortably under it. |
| Adhesive hooks | Frames with a sawtooth hanger or cord | Sit the hanger on the hook like a nail. Again, check the weight limit. |
| Picture rail hooks | Any size, including heavy frames | Only if your room has a picture rail. Hang the frame on cord or wire from a hook over the rail. |
| Picture ledge or shelf | Several frames you want to swap around | Needs a couple of fixings once, then holds as many frames as you like, with no holes per frame. |
| Leaning | Large frames | Lean a big frame on a mantelpiece, sideboard or the floor against the wall. Layer a smaller frame in front for a relaxed look. |
Getting adhesive strips to hold:
- Clean the spot on the wall with rubbing alcohol (not household cleaner) and let it dry.
- Press the strips onto the frame, then press the frame firmly onto the wall for about 30 seconds.
- Follow the waiting time on the packet before putting any weight on them, if it gives one.
- To remove, pull the tab straight down along the wall, slowly, rather than out towards you.
Adhesive strips don't hold well on freshly painted walls, textured surfaces, wallpaper or anywhere damp, such as bathrooms. Heavier frames are better on a picture rail, or ask your landlord about small pin hooks. The holes are tiny and easy to fill when you move out.
It helps that our frames use shatterproof acrylic rather than glass, so they're lighter than you'd expect, which keeps more of them within adhesive strip limits, and they won't shatter if one does come down.
Hanging a few frames together
Treat the group as one big picture: its middle goes at the same 145 to 150 cm height, and the whole group should be about two-thirds the width of any furniture below.
Lay everything out on the floor first and move it around until you like it. Then cut paper templates the size of each frame, mark the hanger positions on them, and tape them to the wall, so you can live with the layout for a day and then hammer straight through the marks. Keep the gaps between frames even, somewhere around 5 to 8 cm, and line up either the centres or the edges.
On a staircase, follow the angle of the stairs: keep the same height above each step rather than the same height from the floor.
Or skip the paper and use our Gallery Wall Designer to plan the whole wall to scale on screen. There's more in our gallery wall ideas guide.
Key takeaways
- Hang the middle of the picture about 145 to 150 cm from the floor, or 20 to 30 cm above furniture.
- Above furniture, aim for art about two-thirds the width of the furniture.
- Check for pipes and cables, and match the fixing to the wall.
- For two hangers, transfer their positions to the wall with a strip of masking tape.
- Without nails, use adhesive strips or hooks for lighter frames, and a picture rail, ledge or leaning for heavier ones.
Common questions
What is the easiest way to hang a picture?
Put a strip of masking tape across the hanger on the back of the frame, mark the hanger on the tape, stick the tape on the wall where you want the frame, and put a picture hook through the mark. For light frames with no holes, use adhesive picture strips.
How high should a picture be hung?
Middle of the picture at about 145 to 150 cm (57 to 60 inches) from the floor. Above furniture, leave 20 to 30 cm between the furniture and the bottom of the frame.
What is the two-thirds rule for hanging pictures?
Art hung above furniture looks most balanced when it is about two-thirds the width of the furniture. Over a 180 cm sofa, that means a picture or group of pictures about 120 cm wide.
Is it better to use screws or nails for hanging pictures?
Picture hooks with nails are fine for most framed prints and leave smaller holes. Use screws with wall plugs or anchors for heavy frames, or anywhere a fall would matter.
How do I hang pictures without nails?
Use adhesive picture-hanging strips or adhesive hooks for lighter frames, staying under the weight limit on the pack. For heavier frames, use picture rail hooks if your room has a rail, a picture ledge, or lean the frame on a mantelpiece or sideboard.
Do adhesive picture strips damage walls?
Not if you remove them properly: pull the tab slowly straight down along the wall. They can lift paint on freshly painted or poorly prepared walls, so test one in a hidden spot first.
How do I hang a frame with two hangers?
Use the masking tape trick: tape across both hangers, mark them, move the tape to the wall with a level, and fix through the marks. Or measure the distance between them and mark two level points that far apart.
What should I use on plasterboard?
Picture hooks for light frames. For heavier ones, a screw into a timber stud, or plasterboard fixings rated for the weight.
More framing guides: photo and picture frame sizes and how to frame a canvas painting.
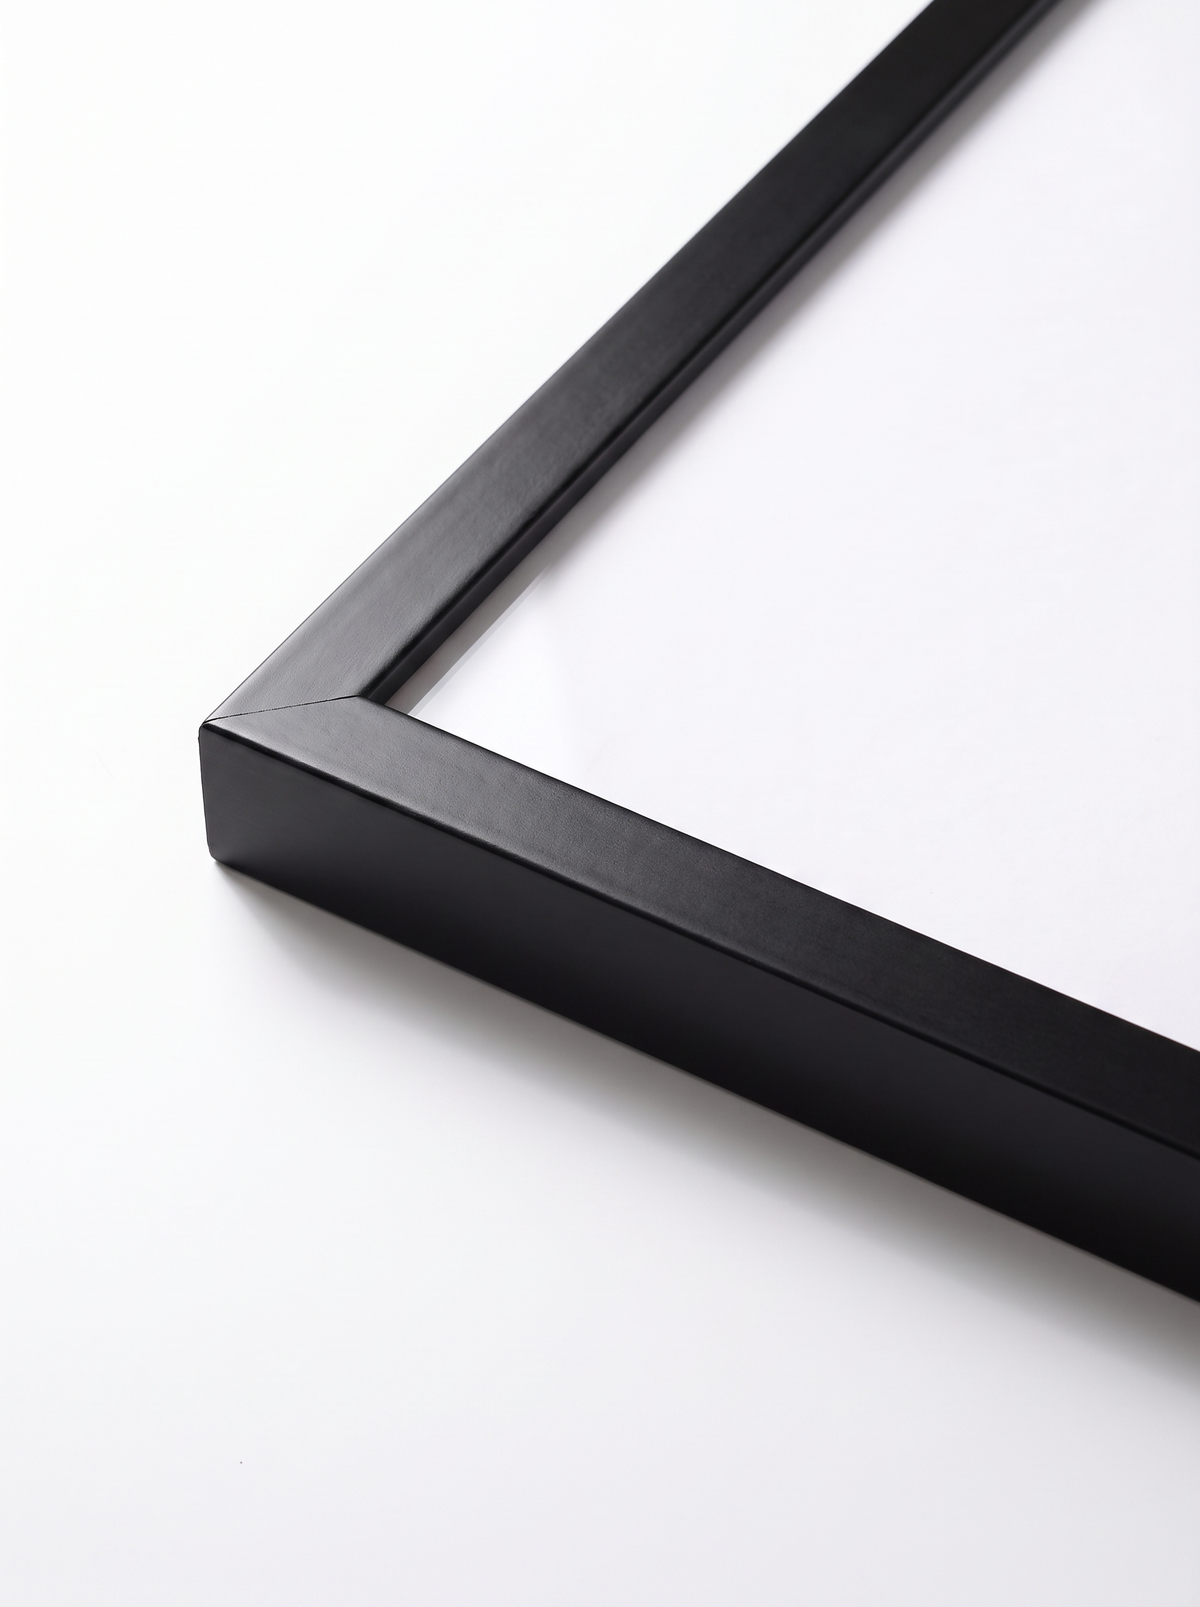
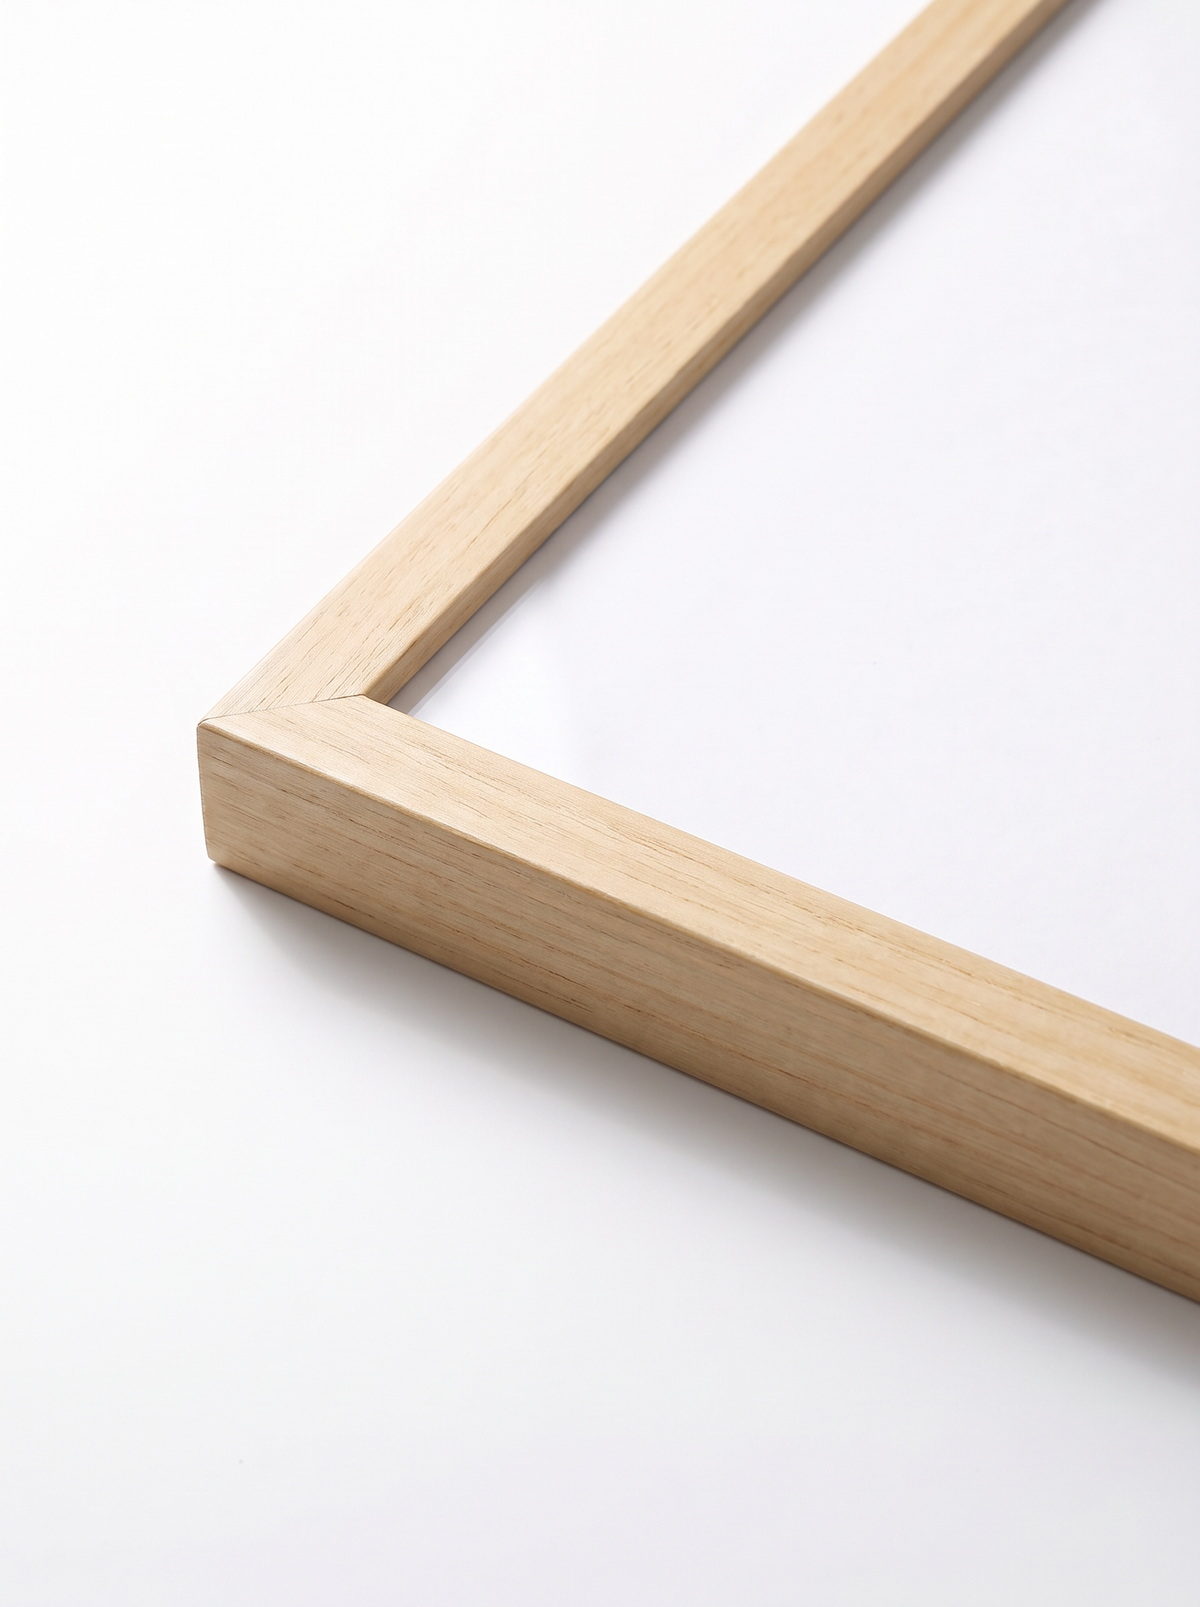
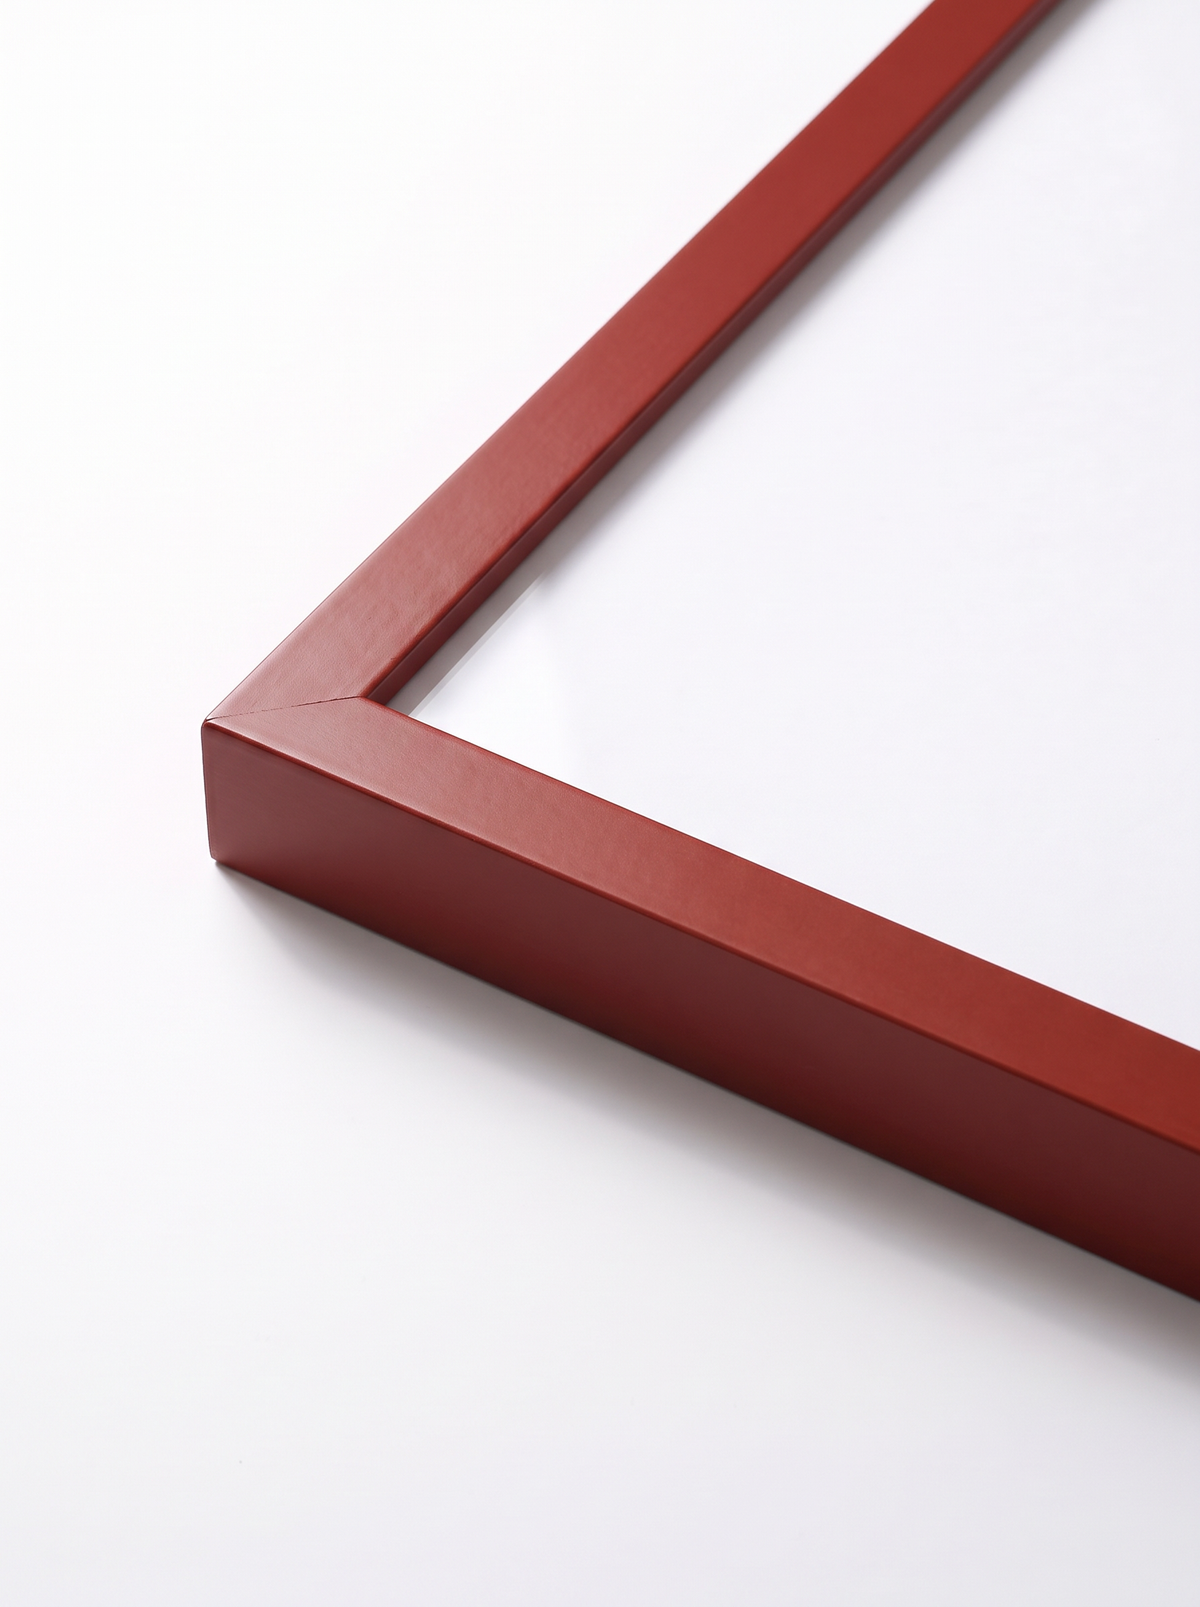
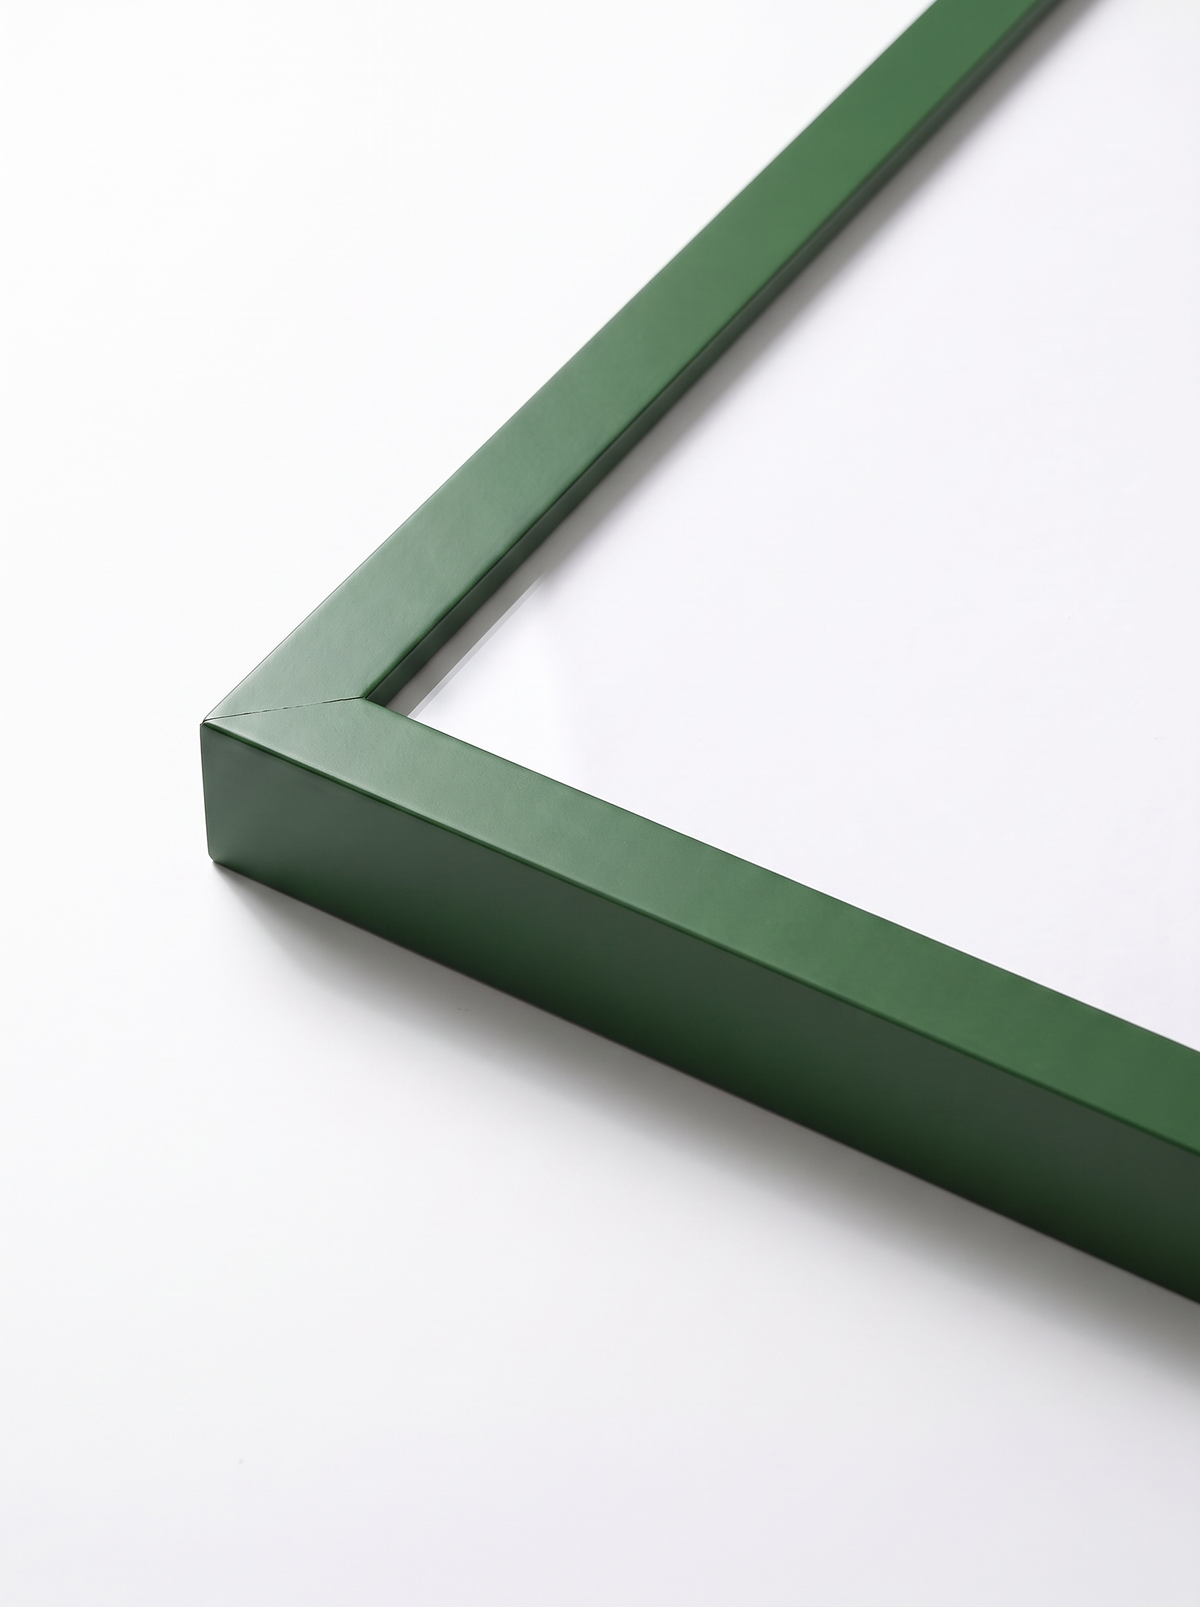
Need a frame first? Have a look at ours. They're handmade to order and arrive ready to hang, and you can upload a photo of your artwork to see it in any frame before you buy.

About the author: Trevor Beers
Trevor Beers is a guest writer for East Side Studio London. With two degrees in English language and a passion for contemporary art, he explores the intersections of culture, criticism, and collecting. Splitting his time between London and Austin, Trevor brings an academic eye to emerging art scenes, offering thoughtful perspectives on today's evolving art landscape.